fifteen minute modeller

fighting procrastination fifteen minutes at a time

Page 11 of 14

Measure twice cut once

If only I had headed those words and not gone to B&Q without my backofanenvelope calculations which left me with ply cut short. However after a bit of head scratching and ponder and some tea drinking I realise that I could add on a section at the end. Due to the lightweightedness of the baseboard it shouldn’t be too much of a problem and with extra bracing for attaching to the main board everything should be rock solid!

However in the measuring fiasco it means that I will need to get some more ply for the top and so a trip out to the timber merchants on Monday for another sheet of 8×4 6mm ply. This does mean I have quite a lot left over! Do not be distracted, do not be distracted… repeat.

IMG_2308

Activity!

Having manage to get myself to a DIY shed and find what I needed after a couple of abortive attempts I have finally got some modelling underway again! First I built the trestles to hold the board and these were simple cheap 3×1 and actually not to bad in quality than the usual knot ridden, twisted and warped stuff I have normally found at these places. Then next up was the cutting the blocks for the spacers. This was a doodle with my chop saw and I just set up a jig and shot through about 20 of them in less than a minute. Following on with ply cutting on my table saw. I have to say that it is a great disappointment and most of it can be thrown away and when I get time I am going to rebuild it. However after some trial and error I managed to get the required lengths. I only have enough clamps to do one side at a time so progress is slow at the moment but hope to have all sections completed by the weekend. Then I will be able to lay the road bed and start layout to track plan. More to come..

IMG_2259

Building blocks and U-turns, kinda

10" Table Saw

My new 10″ JET Table Saw

Well in true me stylee nothing happens for ages and then three things at once! Things have been slow on the modelling front due to various life things getting in the way but I have managed to eek a bit of time here and there and although this isn’t an actual modelling post it is more a setting for the foundations. In the first pic you will see my newly set up table saw. This has been sitting around for oh I don’t know months, but finally got over the inertia to get it out of the box and set up in the workshop, only took about three days with potters out there with cups of tea, lots of looking and ‘thinking about’ followed by more cups of tea and then some action. Yesterday was the big grand starting up day and thankfully the morning was set sunny as the workshop doesn’t have a lot of light, well only natural light at the moment so rather reliant of some reflected sun to illuminate the table. Thought that this was important due to the nature of the beast and its ability to sever limbs and the like. I am not scare of these kinda things but it pays to be cautious and in this instance RTFM was observed completely. Finding a straight and levelish piece of timber was another thing. However I can happily report table saw started up perfectly and zinged along until the kill switch was hit rather gingerly. Next up was the ceremonial cutting, well before the 10 minute hunt for safety glasses and ear defenders, the later not found but a memory of leaving in allotment shed so mental note made to collect before 2014-08-26_13.47.56
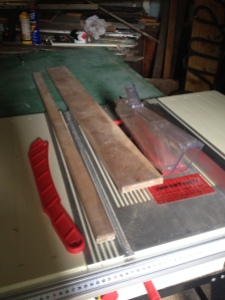
any more cutting is carried out. Having watched numerous vids on Youtube with people not using protective ‘stuff’ makes me think I would rather keep hold of all my digits, limbs and faculties.

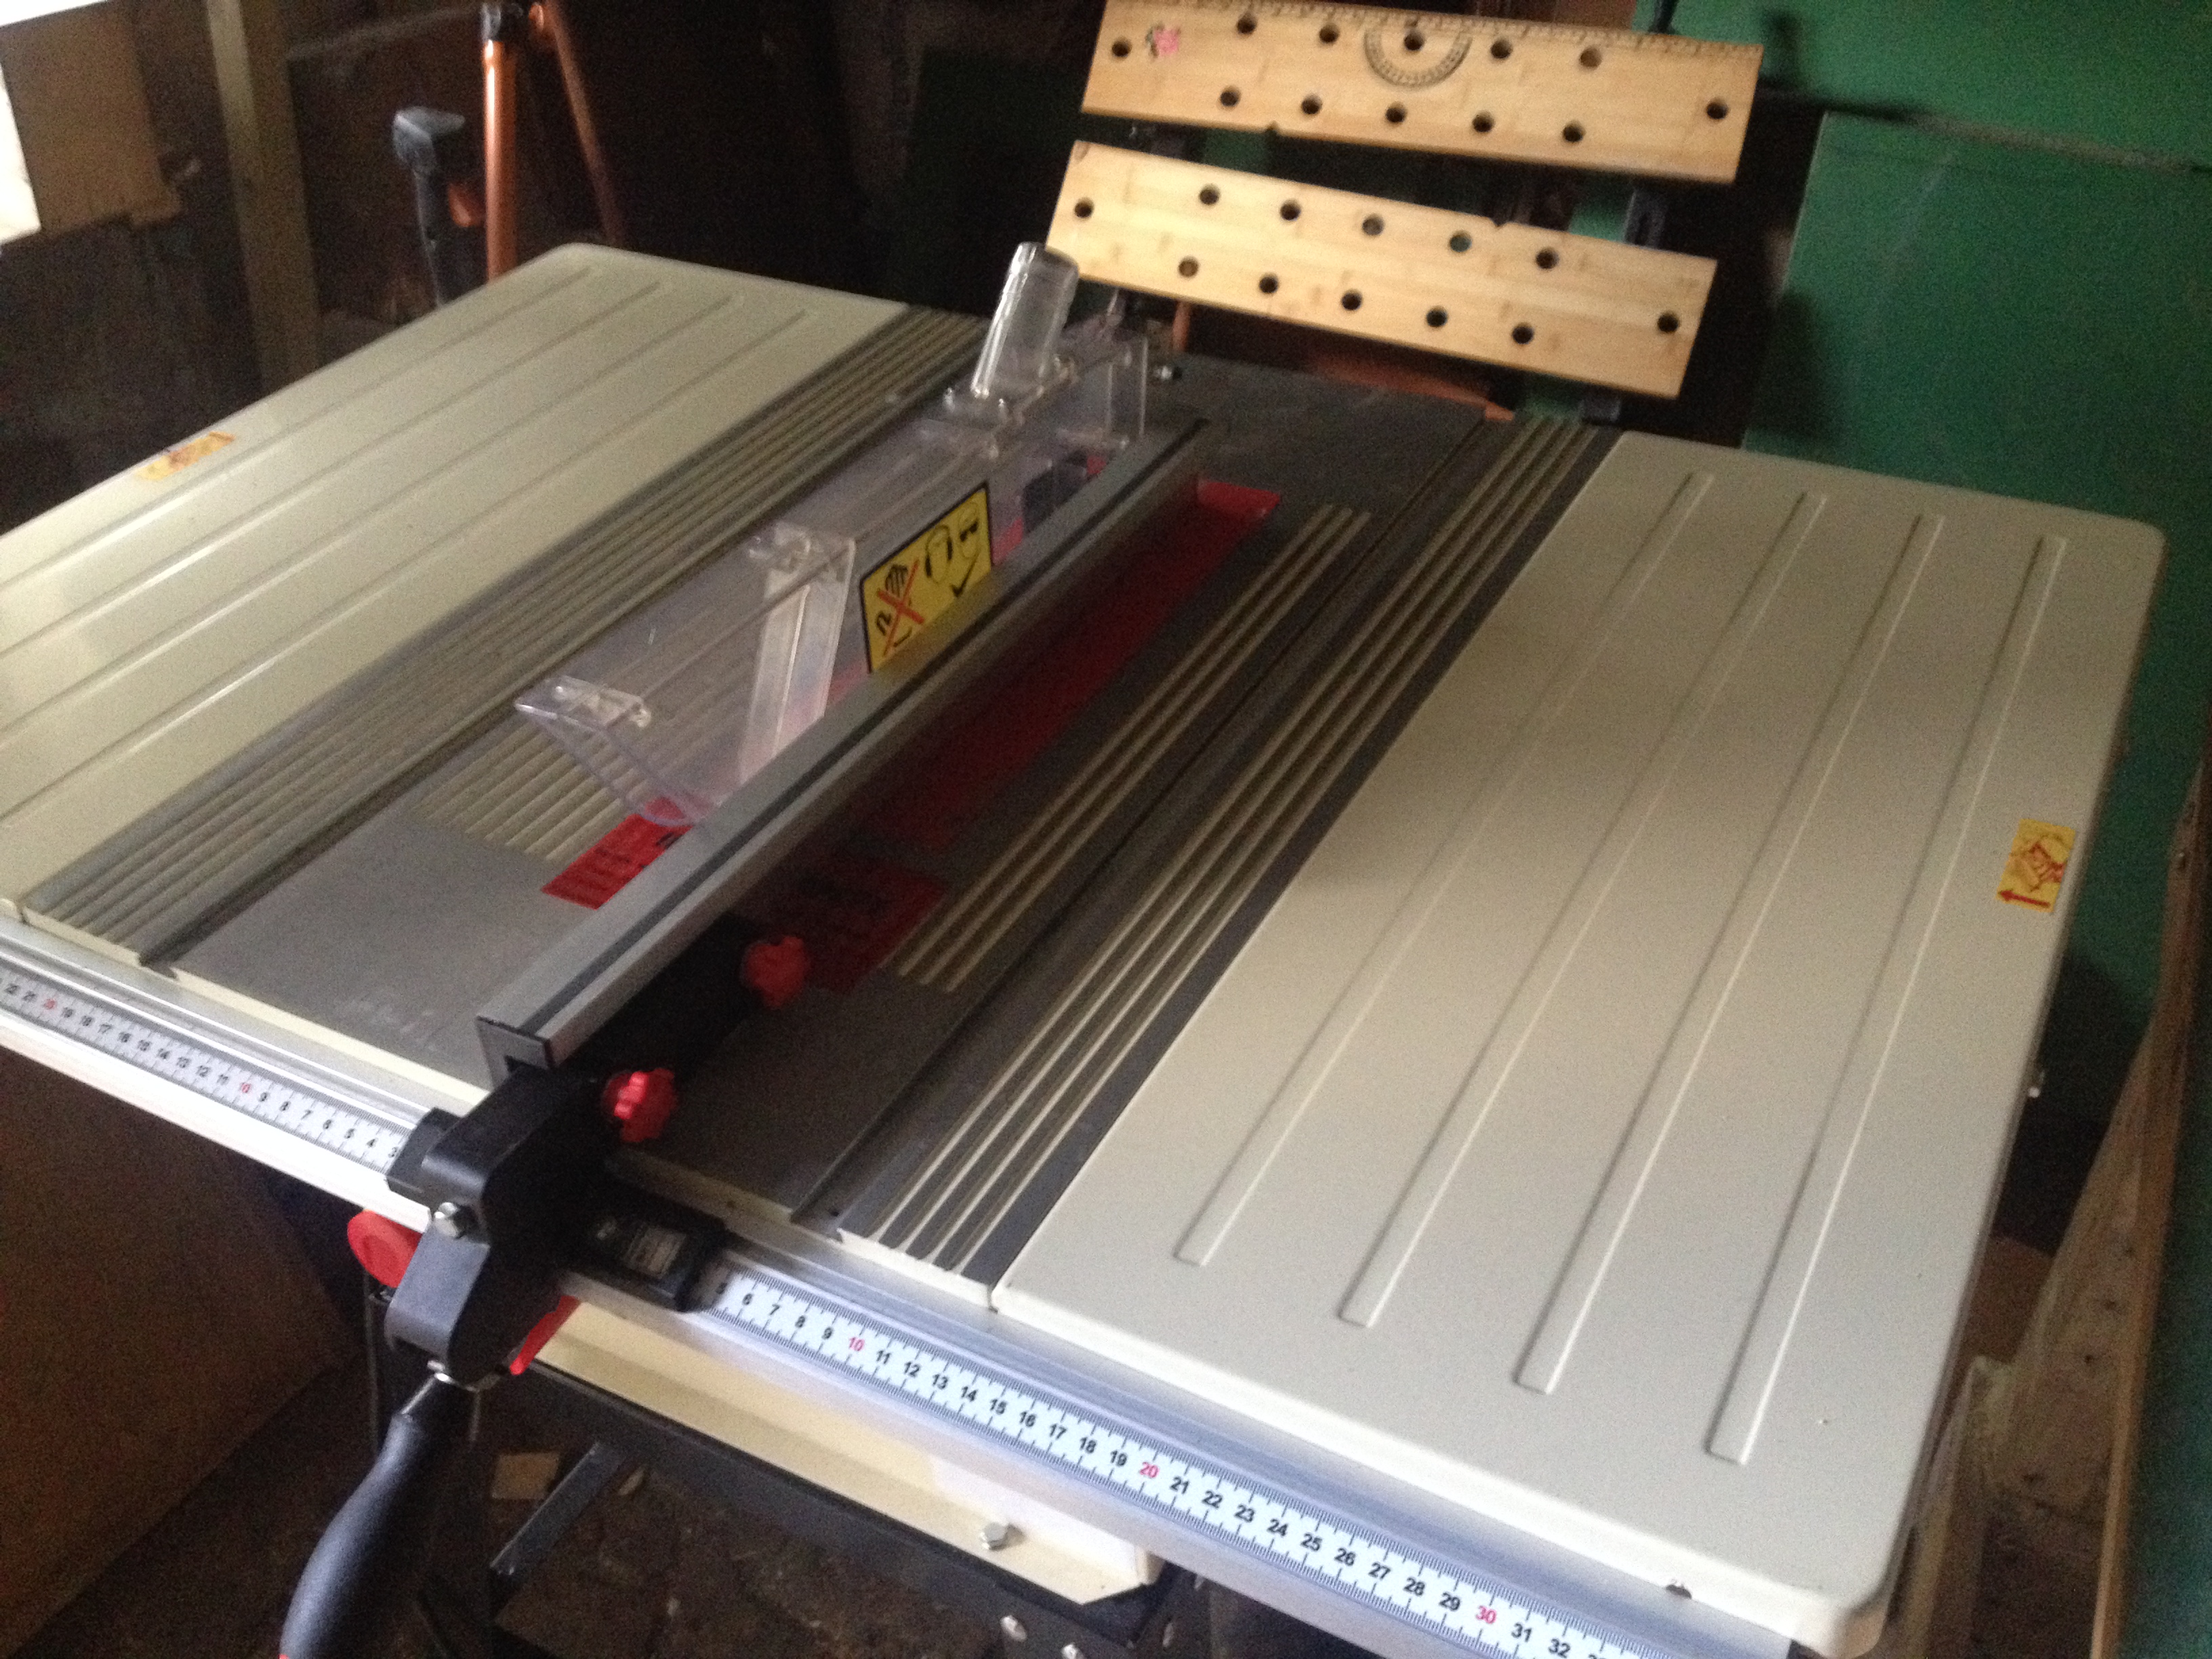
All in all a successful and positive step forward in 15minutemodding towers, however I do have to pass on a bit of a mini rant. The quality of this so called quality hobbyist saw is in my view bordering on the crap spectrum. The whole thing has a cheap and nasty feel to it and after the original bits missing needing replacements I rather lost confidence in the whole thing which is why I guess it took so long to get to this point. The fence is nigh on bloody useless and also the mitre ‘thing’! I was about to do the following when a bit of sense prevailed. So I am now looking for ways to mod it. I like the vid as the bulk of what I see myself cutting is going to be ply and small dimensional lumber but I am hold fire before going down this route of replacing the top with ply, I will firstly look at a beefed up measuring channel and fence locking handle but I am going to try it out on some board first to see how far out of gauge it is. For a Swiss firm and a Trusted UK distributor I would have expected a little more oh well onwards..

Having posted else where my desire to do something constructive lead to a dresser top ops session. This initially started out as a test of some Kato track and then became a mini ops sesh. Amazing what you can do with four wagons and a loco. Having started out with all but my only DC loco leaving me to think all the others had failed in storage or transport I had the head slapping moment of realising that all the other locos are DCC and the KATO power unit for the GEX set in DC Duh!!!! anyway spent a couple of happy evenings switching wagons around on an imaginary town somewhere in deepest New England. This lead me on to further thoughts about my then current plan, but this and more in a further post as duties call!

One more thing… just a teaser for a bit of an epic adventure next week with my mate Mr D

Gingeryitius

Having for a very long time wanted a lathe, a number of factors over the years have construed to thwart me in this endeavour. The first being time and the latter being money. Now in a position where time is abundant but money is scarce I find myself going back to the idea of self build, or in modern par lance open sourcing.

A couple of years ago I came across mentions of the Gingery Lathe (GL) this then followed research and finding out that there was a set of books to go from nothing to a full workshop of machine tools. This sounded amazing and just what was needed. However at the time my work was all consuming and left little time for backyard casting antics let alone machining and making that level of mess in a second floor flat. So ideas of having my own lathe were put on the back burner until a time came when I would be able to make mess and have some space and time to do that.

Going back through my browser links the other day I came across the GL links which whetted my appetite again to have a go at backyard casting a machine tool making. With all my other Youtubing around table saws and the like I came across another amazing find and just what I was looking for!

Having no experience what’s so ever in metal work apart from the very limited sojourn at school I am also interested to learn these skills and some others to make for a fully rounded home shop bodger (my term) which will include a bit of welding too. This will hopefully start to pan out over the next year as I know these things take time and things have to be learnt. Even now I am looking for evening classes for home engineering and welding.

Rattle and roll

GC HST Northbound

HST Northbound home on Grand Central

Returning home from the smoke we travelled on Grand Central on one of the HST sets and although they no longer powered by the Valenta engine we still rocked along only stopping in York and Thirsk and reaching York in around 1:50mins from Kings Cross which unless your Jenson Button is nye on impossible and, its much more pleasant to travel by train, watch the landscape go by, have a cuppa tea and relax than either sit in traffic jams or getting caught in the speed cameras. But anyway this doesn’t have much to do with 15 minutes modelling a day.

However on my return a pack was waiting for me which I had forgotten about which was nice and has a good selection of pictures both old and contemporary. I still like to be able to peruse through my book collection and think in some ways I would like to have a look at the e-versions but there is something nice and tactile about paper.

However there is a bonus DVD to watch. I will have to find a quiet moment to watch this but being HD I am looking forward to being able to pause and take screenshots for future reference. I was pointed to this magazine from another forum where the special issue was dedicated to rhbmagndvdthe RhB I thought that it should not be missed. The pictures are all of really good quality and the black and whites are clear and crisp. So my bed time reading is sorted out.

And finally I am still waiting for the Table saw to be fixed so I can look at starting to cut the ply for the modules and hopefully that will be this week however I do have enough to be getting on with for the moment.

Up hill down dale

https://www.youtube.com/watch?v=g9wn_CSVUWM

Just a short post to show a rather ramshackle test proof of concept for the GEX set going round a 150mm curve radius helix. As this is only for the none scenic sections it will all be covered over, but access needs to be possible as there will be switches half way up for the middle level and due to the tightness of the curves derailments may occur. I set out to get 50mm of lift in the helix in one turn which is probably double the amount Kato allows for their lifted sections but there recommended clearance is 50mm so it was a good guess.

As you see the loco easily pulls the coaches up and I did a test with the full compliment and it didn’t struggle at all but as I am only going to be using 4 at most this is a satisfactory test.

Revisionist

Having from the beginning thought that the plank was no more than a plank and a exercise in ballasting some Kato track it has moved on from there and now after some discussion has the idea for a turntable as a holding storage area. At first I seemed as though a cassette system would be ok then I moved onto a sector plate and finally ended up with a turntable. This is somewhat ballooning for the original idea but I guess it can’t harm right? Measuring the Kato Unitrack two 413mm radii curves and a straight sandwiched between them takes up pretty much dead on 10″ and this is pretty much how much space I have on the plank. When not in use the turntable can be stored elsewhere as it is easily removed and it will aligned by baseboard jointing dowels.

So then the fact of how is this integrated into current track bed, the only option is to raise the whole road base up by 9mm so that the trains can transfer from yard to station. So out with the circular saw and cut some more chunks of ply not too difficult but it just means the back scene height is lowered by 9mm. Having just had plumbers in, who kindly left behind a bunch of stuff amongst which was some 9mm ply I have enough off cut to easily create raised trackbed and turntable. When I get back from vaunt down South I will attempt to get this completed before heading off to another weekend of fun!

Turntable

New improved fiddle yard option

ArmchairTV modelling

Just a quick post about the new (to me) Trainmasters TV.  I have just been able to join up and getting a discount for subscribing to MRH made it even more appealing. Although the content is predominately North American the modelling techniques are pretty universal. I am just working through back drop painting at the moment and have picked up some really useful tips. Although at the moment I am doing this digitally I plan to get some brushes and acrylic paints to have a go at a Alpine backdrop.. don’t hold your breath though as this is going to be a lot harder than I think and having seen the like of Troels Kirk’s work I won’t be happy till its right.

TMTV is not only about modelling and there are some interesting in sites into the proto railroads that normally I wouldn’t find that interesting. I think that the possibilities are endless when it comes to the content they can serve up and am looking forward to how they progress with this. Although you can find so much on Youtube  the content here has a much more polished feel to it and as its all in HD you get the full effect..

So for the price of a sandwich a month, you can get some really good quality content to sit back and watch and learn.

Oh and then theres Lionel 🙂

Imageering

imageering

Imagineering the what ifs

This afternoon was spent adding a bit more to the test plank but not adding the tunnel back scene as not sure where the tunnel is actually going to go at the moment. It has evolved a bit as I am now going to have a traverser that will swing from front to back so that the DCC programming track can be used as a storage road. Although the primary goal for this test plank is to test out scenery task like ballasting and building structures etc I have hedged my bets and gone with something I can switch ‘something’ backwards and forwards on. I have gone with this plan as it gives me a bit more space in the station area and as you can see there is enough room for loco and two. It is envisaged that train pulls in and stops second loco removes coaches and disappears. first loco disappears. Second loco returns and waits then pulls away.

If in the future some wagons come out then I will use it to shut them around a bit. This will however not going to take the place of the main modular layout and is really there to test out locos, run them in and maybe a photo back drop. But it gets the juices flowing for planning on the “big” layout. In fact this is the first time in a long time that I can see it all before I have built it which is promising. And the progress shown is more than in the last decade. But a start is a start!

Tomorrow will be spent working out the tunnel location, the transfer table and the electric feed locations. I then need to work out what track I need and this will be really simple as it will mainly be straights and maybe one or two curves but another #4 point is needed so will hopefully be able to pick one of those up. Unfortunately there are no modelshops in the local area anymore and so it is quite a trek to be able to pick up just the basics so most of my model related shopping is done online. Of course shows are an option but again getting to them can be expensive and time consuming, but I digress. So far I have kept up a 3 day streak of modelling, lets see how long it can carry on!

From small planks, big layouts grow.

Although I completed this yesterday (almost) I thought it would be wise to have a bit of a test bed to trial a number of techniques and products I have never used before that being mainly the Kato Unitrack. I have kept it deliberately simple and at most will have two turnouts/switches on it. I thought that I could use it as a DCC test track and that will fit down the back on a small ledge behind the line shown on the right hand side of the board. I am thinking about adding my SprogII to the underside but will see how I go with this, I may just stick to the Kato controller that came with the GlaicerOnTour set.. Having Bachrus rolling roads that I can set up on it for running locos in is going to be useful and it delays the need for installing Decoders into the locos. On with point Digitrax do a drop in one but other wired ones can be installed just it is a bit harder due to space constraints.

I will be trying out joining Peco concrete flex track to the Unitrack and may try a bit of hand lay just as an experiment. The original discussion see-sawed around wether it would all be hand laid or all Unitrack then a mixture and then back and forth but the upshot of it was that the ends have to be Kato and anything in the middle is fair game as long as it allows the Kato and any future stock to run over it.

So todays 15 minutes are to finish the backscenes and create the fiddle yard. then its off to the model shop to find some ballast material. Well actually that will be tomorrow as nothing open today, being Sunday!

A test bed for Swiss GEX layout ideas

A test bed for Swiss GEX layout ideas

« Older posts Newer posts »